Posted on 1 Comment

Mug Cake

It has been close to three weeks that I wrote any article but have been posting pics on the site.  Two reasons one is  Bakesngrub venture setting up is taking time and lot of teething issues and to top it all I have two brats who have their summer vacations on . All mothers will relate to this aspect if you have two kids at home 24/7 so what can happen. Delhi Heat also forces you to keep them indoor.  To keep kids occupied we have been experimenting a lot with food, the mother and kids have made Nutella cake in a mug,  oreo biscuit cake, maggi tikki and lots of amazing stuff. These may not be my recipes but adopted from internet and made some variation to suit our palette. But what I am sharing with you all today is special recipe downloaded by my kids and they wanted me to try with them and be their taster. I tried getting the source but there were many version as kids had just noted it down on paper. So here it goes Nutella Cake in microwave in a Mug

Ingredients

  • Nutella- 3tbsp
  • Sugar- 2tbsp
  • All purpose flour/Maida-4 tbsp
  • Milk- 4-5 tbsp
  • Oil- 2tbsp
  • Coco powder – 2 tbsp
  • Baking Powder- ½ tsp
  • Choco chips- 2 tsp or even grated chocolateMethod:
  1. Take a Big Coffee Mug which is microwave safe. Brush, it with oil
  2. Mix the dry ingredients in a bowl. Sieve it or whisk them together (Sugar, Flour, Oil, Coco Powder, Baking Powder)
  3. Add the wet ingredients and make it smooth paste. Check the consistency and increase or decrease the milk
  4. Pour the batter in the mug
  5. Microwave around 2 min or 15-20 seconds more or till it is done
  6. Remove from microwave or let it stand for 2 min in microwave.
  7. Serve hot in the mug itself with fresh cream, ice-cream or chocolate sauce

It turned out really well. Thanking the person who made this recipe and my Kiddos loved making it . These days they just pop it after dinner as desert and only need someone to pull it out from micro as it is very hot.  Go ahead and make with kids or just surprise yourself with sudden desert after a meal

Since it has been a long time, I thought I will give one more recipe again it is not mine I used to make it with Parle-g biscuits but I saw it with Oreo biscuits.  Take about 15-20 oreo biscuits and grind them in mixie with 1 cup of milk and 1-2 tbsp of sugar. Pour in microwave safe bowl which has been brushed with oil.  Add ¾ tsp of eno once the batter is in the bowl or ¾ tsp baking powder. Microwave for about 3-5 min or till the cake is done. Let it stand for 5 min and then cut it

Hope you all enjoying making these recipes. I promise to be more regular. Pics may not be too good as kids took it

Posted on 1 Comment

Perfect recipe of no-lump Atta Halwa (Wheat Desert)

Atta halwa just reminds me of my childhood days when my grandmother used to sit on stool and make this for me.  She was short and could not reach the gas and I used to snuggle to her tummy and taking in aroma which was coming and keep asking her when will it be done some 10 times.  My grandmother would keep saying 2 min and her hands would be busy in making the halwa. Even today when I make it for my kids and they just love the same and the smell just rekindles those memory in my mind.

With people becoming conscious of health, ghee and sugar portions need to be controlled. So, in way I devised this no lump halwa and where you can control sugar and ghee portions without compromising on taste. Recently made the same for my friend with healthier version and she loved it.

Here it goes

Ingredients

  • 1 cup Atta/Wheat flour
  • 1 cup sugar but you can take little less (you can reduce if u want or replace with sugar free)
  • ½ cup ghee (low fat version or u can reduce or increase as per taste)
  • 1 tsp cardamom powder
  • 2 cup water
  • 2 tbsp mixed dry fruits chopped for garnish

Method

  • Dry Roast the wheat flour till dark brown. Let it cool completely
  • Mix sugar and water in a non-stick vessel and add the cooled wheat flour to it and cardamom powder
  • Once it has mixed then switch on the gas and keep stirring it
  • Add Ghee to the mixture depending on your need. Min of 3 tbsp gives you the good taste
  • Keep stirring till it thickens and leave sides of the vessel
  • Garnish with dry fruits and serve hot

Please enjoy the hot halwa and do share feedback on your version


Posted on 2 Comments

Channa Vada

It has been two weeks that I wrote something on the blog, I am sorry for the same. But thanks for waiting patiently.  I have been very busy setting up the production of healthy tea cakes and coupled with mothers day it just got crazy.

This time I am sharing a simple recipe of making south indian channa or masala vada. This suggestion was given by a friend who had come down to enjoy my South indian spread  at our place. I was rattling off the recipe to her and she said please write in your blog so that we can refer at any point of time. So here goes –

Ingredients

  • 1 cup Channa Dal
  • ½ cup finely chopped onion
  • ¼ Coriander leaves finely chopped
  • 1-2 green chilies chopped
  • 1 tbsp ginger grated
  • 10 black peppers
  • 2 slices of bread optional- grind them in mixie
  • 1 tbsp of cornflour if batter becomes too thin
  • Salt to taste
  • Oil for frying

Method

  • Soak Channa Dal for 4-5 hours
  • Coarsely Grind it in mixie without water
  • To this add onion, coriander leaves, Chilies, ginger, black peppers. Bread and cornflour to make it dry mixture.
  • Mix properly and make flat balls
  • Deep Fry them in oil
  • Serve them hot with coconut chutney

You can avoid green chilies if making for kids , even can add boiled vegetables to the same . Pl add cornflour to the same so that they do not break due to water in vegetables. The result is always yummy.

Posted on 8 Comments

Fruit Cream with NO Cream!!

I got married to a husband who hates cream and milk and I love them! I do not remember a summer without chilled fruit cream at mums place . So with my thinking cap came this recipe of fruit cream with no cream. Instead using our King of Fruit Mango. This is quite low calorie as we are not using cream. This has become everyone favorite at our place and of our friends.

Fruit Cream With No Cream
Ingredients
  • ½ cup mango
  • About 2 cups milk
  • 2-3 tbsp of sugar or little milkmaid
  • Roasted nuts
  • Assortment of cut fruits like apple, mango, pineapple, grapes, banana, kiwi
Method
  • Puree the mango with sugar or milkmaid
  • Add Milk and churn it again
  • Mix all the fruits and nuts in the mango puree
  • Chill in fridge for at-least 3 hours before serving
  • Garnish with some chopped mango and cherry and nuts

Tips/Variations

  • Pl note nuts add little crunchy taste to the dish. You can skip if you do not like it .
  • People who like cream and give a top layer of whipped cream or Amul cream. But remember to set in fridge to chill.

Go ahead and Enjoy the mango season 🙂

Posted on Leave a comment

Rajma Rice Balls

Leftovers from every meal becomes an issue but somehow, I try to manage this better. My husband compliments (which is rare) that you are the leftover queen. No one would come to know you used left over stuff and turned in an easy and yummy dish. Last time we had talked about Cream Corn crackers, it was also invented when we had leftovers from a Chinese meal.

This time we will make use of leftover Rajma – Rice and make pakoda’s with a twist!!


Ingredients

  • Boiled Rice – 1.5 cup
  • Cooked Rajma- 1 cup
  • Onion chopped- ½ cup
  • Coriander leaves- 1 tbsp
  • Green chilles chopped – 2 nos
  • Salt
  • Chat masala / Oregano- choose one otherwise flavours will be mixed
  • Amchur powder
  • Red chilli powder
  • 1 tbsp cornflour to be mixed in the batter and additional 1 tbsp mixed in water
  • Bread crumbs
  • Oil for frying

Method

  • Mix everything except additional cornflour and bread crumbs
  • Shape into balls
  • Dip each ball into the cornflour and water mixture
  • Dust the above ball in bread crumbs
  • Deep Fry the Balls
  • Serve them with Tomato sauce or any sauce or dip of your choose

rajma rice balls

Variations – you can add cheese to the mixture or corn or bell peppers to give it tangy taste. I can vouch that it tastes really nice. My kids make me make it especially when there is a play date. I even had to cook fresh rajma and rice to make it!! So it is no longer a leftover dish but now called Rajma- Rice Balls.


Posted on 8 Comments

Colorful Summer Mocktails

Summer season is here and we all love to have colorful cool drinks.  I love doing mock-tails for the kids  and for our house parties.  They are the most sought after drinks. Hilarious part is I  do the preparation for mocktails and they are stolen for making cocktails but anyway it is all in the family.

Here goes the simple one

Orange and Strawberry – blossom

Ingredients

  • Orange juice – 2-3 cups(chilled)
  • Strawberry Crush or Grenadine Syrup- 2 tbsp
  • Lemon Juice- 1 tbsp
  • Vanilla Ice-cream- 2 tbsp
  • Mirinda -1/2 cup or sprite or soda
  • Crushed ice to serve

Method-

  • Mix together everything except crushed ice & Mirinda in a blender
  • Put in fridge till serving time
  • Mix in the soda or Miranda to blended mixture before serving
  • Pour in a glass with crushed ice

Does it not look awesome?

Orange Strawberry Blossom

The other one very famous with kids is Fruit Punch

Ingredients

  • Mixed Fruit juice – 2-3 cups(chilled)
  • Grenadine Syrup- 3 tbsp
  • Lemon Juice-3 tbsp
  • Vanila Icecream- 2 tbsp (or Amul cream)
  • Sprite or soda- or limca- 1 cup
  • Crushed ice to serve

Method-

  • Mix together everything except crushed ice in a blender and Soda
  • Put in fridge till serving time
  • Mix in the soda or Miranda to blended mixture before serving
  • Pour in a glass with crushed ice

Don’t they look awesome and you can do your creativity in presenting the same. Pl try out different combinations and happy “mocktail-ing”!

Posted on 4 Comments

Cream Cheese Sweet Corn Crackers

This week I have spent lot of time thinking what recipe or tips I should be writing for my readers. Interestingly my daughter who is the smart one in our house says that I should talk about the starters you make when we suddenly decide to have play dates or forgetful papa forgets to tell you that he has invited his friends over.  This happens quite often in our house but thanks to our modern societies that you get a intercom before the visitor comes up.  Not sure if I should be thankful for 5 min advance intimation, which is small mercy or get angry with kids or hubby for not telling me on time.

But I guess with guests at door you need to put a smile on the face and greet them, irrespective of whom you want to murder. This recipe is variation of toppings done on biscuits like Monaco or Cream Crackers or Oats biscuits. I make it with whatever vegetables are left in my fridge after last night’s dinner.

I have given it a grand name and I call it Cream Cheese Sweet Corn Crackers.

Ingredients

  • I packet of Salted biscuits/ Crackers
  • I cup Vegetables chopped finely-( onion, capsicum, bell peppers, carrot , beans)
  • Garlic pod- optional
  • Vinegar- I tsp
  • Chilli sauce- ½ tsp
  • Mustard sauce- ½ tsp- optional
  • Salt to taste
  • ½ tin of cream style corn
  • Olive oil or any cooking oil- 1 tbsp
  • Grated chesse to put on the top of biscuits about ½ cup
  • Chilli flakes

Method

  • Heat oil in a pan
  • Add garlic and fry for two min and then add the vegetables and sauté for 2-3min
  • Add salt and cream style corn
  • Sauté for 1min
  • Add vinegar and other sauces and mix
  • Take a biscuit and put the mixture on the same. Since Crackers are bigger bisucits I put 2 tsp on the same
  • Top with some Grated cheese and Chilli flakes
  • Grill for 3-4 min and serve hot with ketchup or sweet & sour sauce

Generally they have been a great hit and without people knowing it was done instantly. Incase you donot want to use cream style corn tin, you can put boiled corn and ½ cup of white sauce to give the same effect

Other variation if you do not want cheesy kind but tangy replace this with baked beans and follow the same steps.

Cream Cheese Crackers

This goes well with high tea or drinks or kids menu. This looks very tempting and pleasing to the eyes. You can be creative on the toppings.

Posted on 11 Comments

Glossary of Baking Terms – Part 1

I remember my teenage days and college life when anyone used to ask me what is my hobby and I used to promptly say cooking, baking and dancing. For some of you who do not know, I am a post graduate in Kathak dance 😊 but with working life all seems to be forgotten. Coming back to my other hobby, I was in for a rude shock when I was preparing for my MBA. I had taken a course where they prepared us for interviews and Group discussion.  When asked the question about my hobby, promptly said cooking and baking. A battery of questions started on the definitions about various terms used in baking and I actually did not have correct answers to any of them. I was lost and confused and felt quite ashamed. But there is a saying that failure teaches you to be perfect the next time.

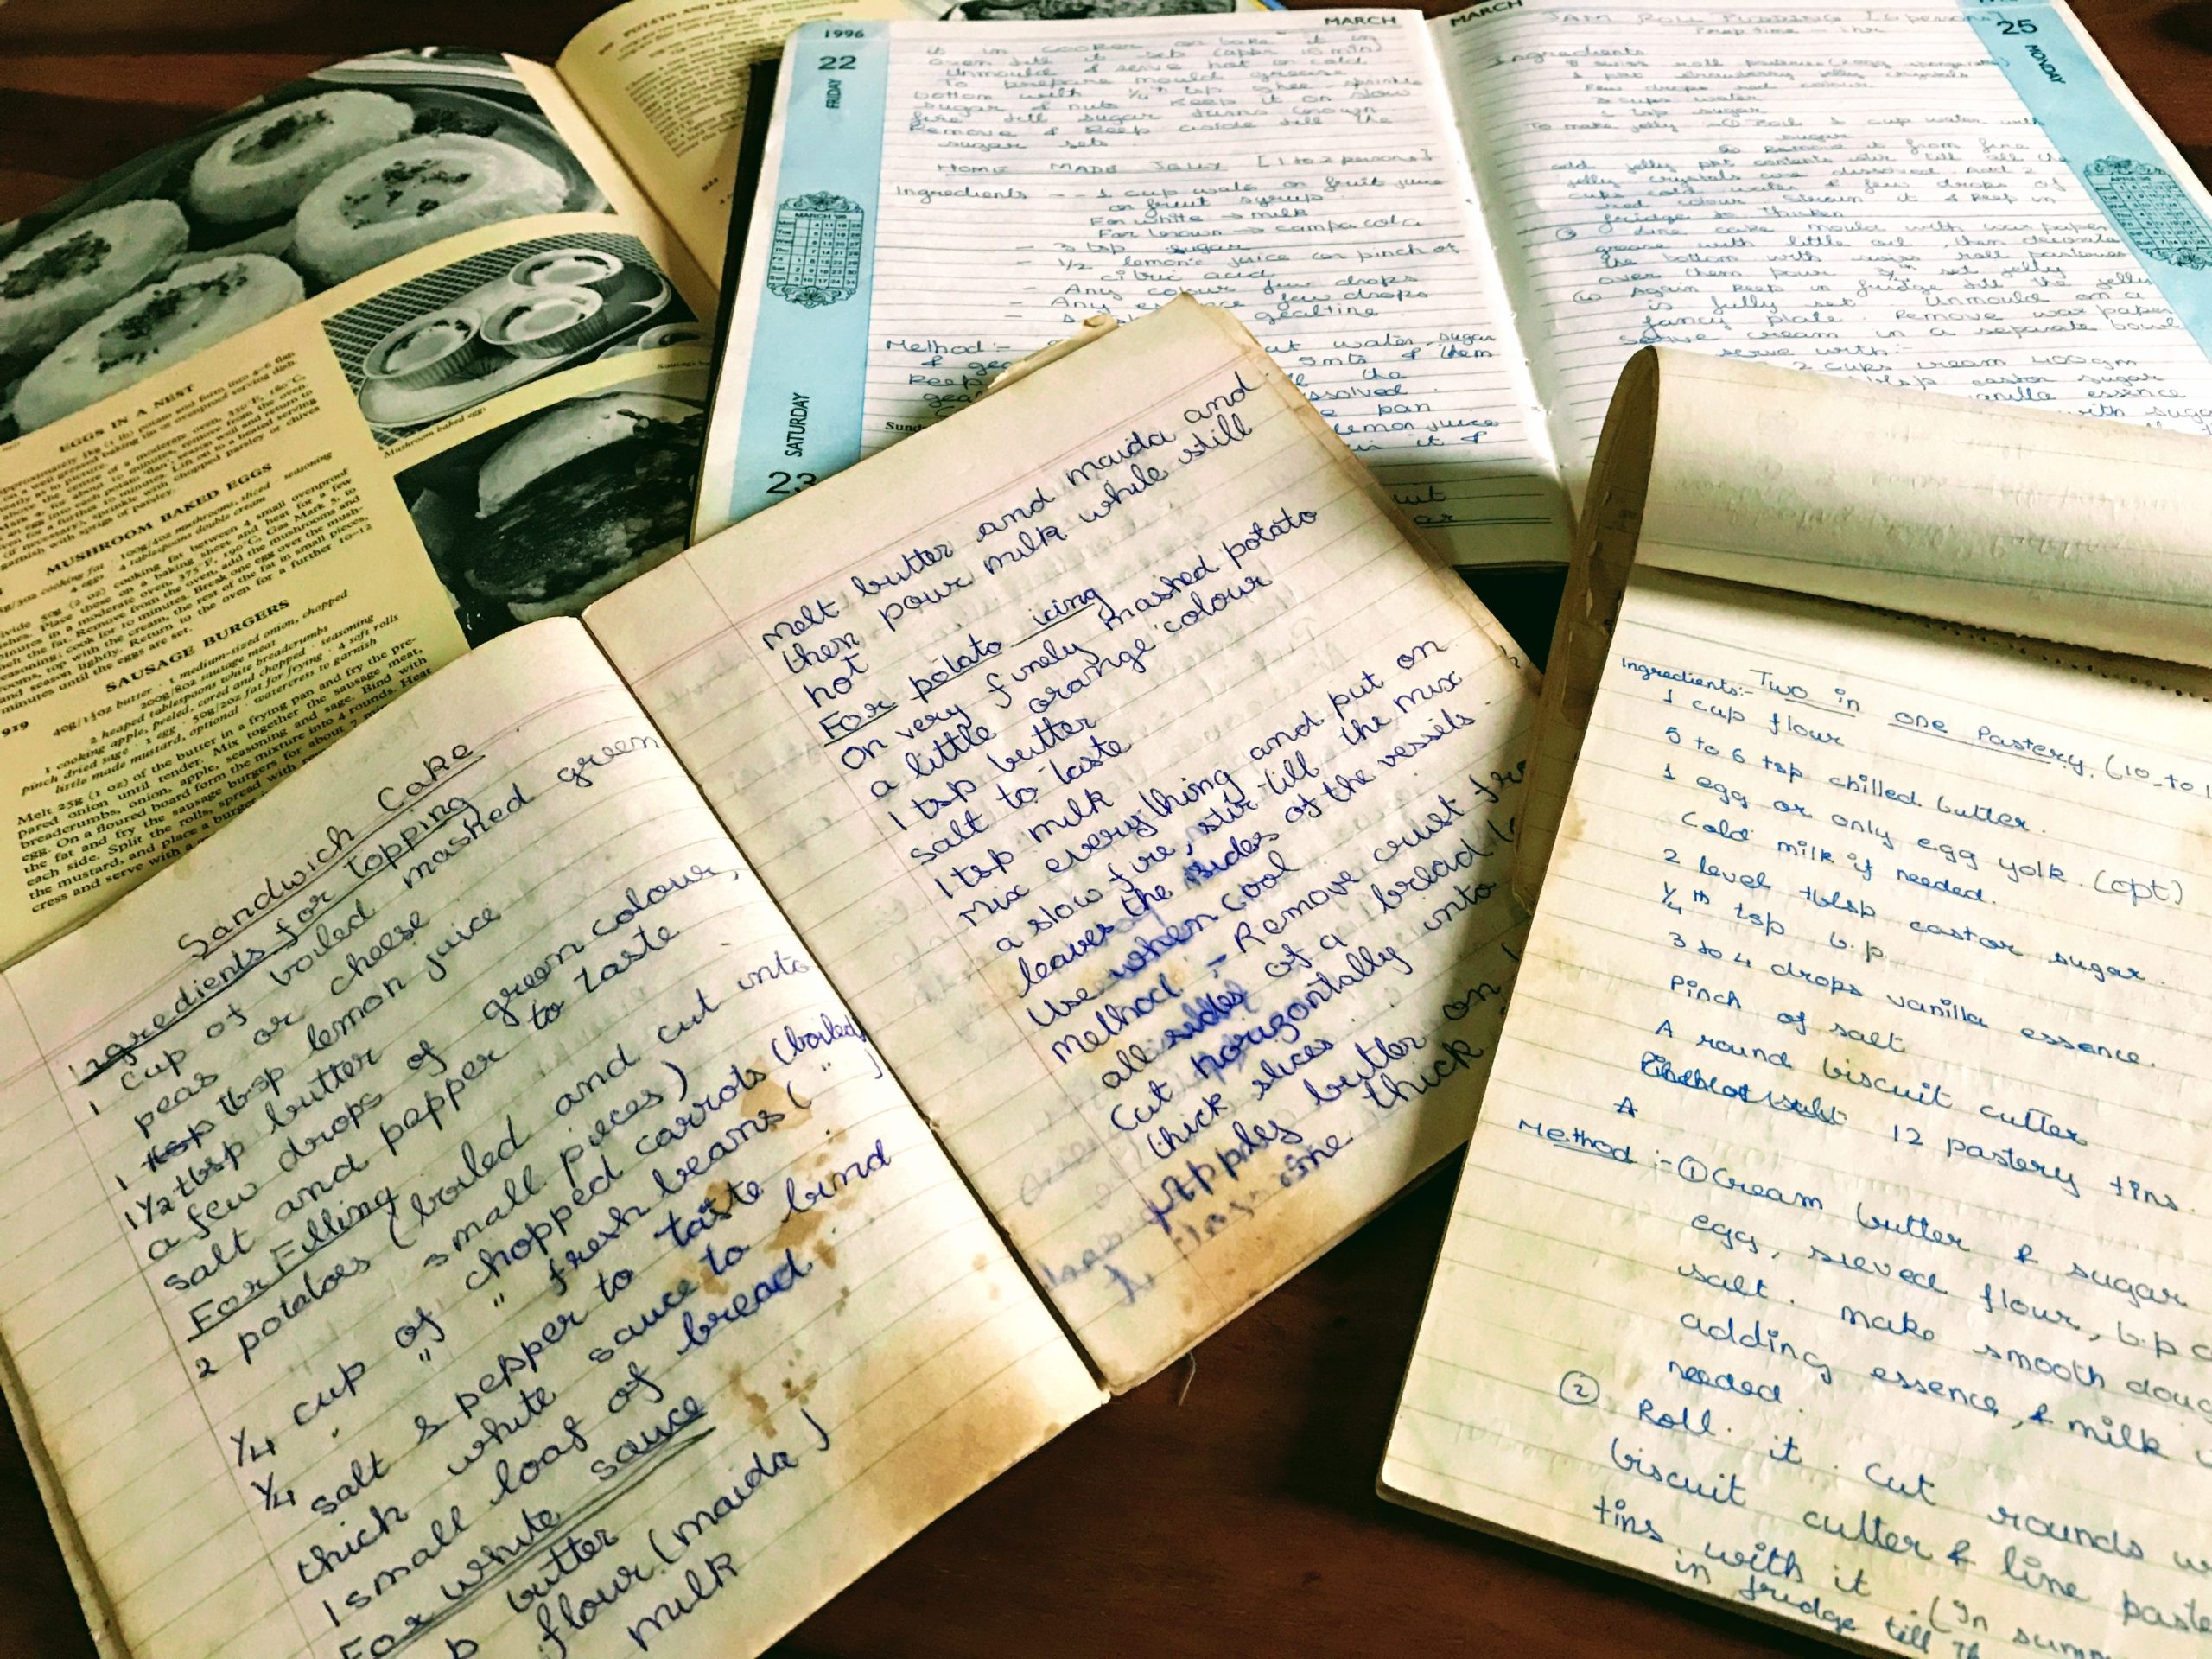
So this week I decided to share some of my notes of that time with my readers. (😊 Knowing the basics is also helpful even when you are googling recipes!!)

The basic words

Glossary of Baking Terms

Baking is a method of cooking food that uses prolonged dry heat, normally in an oven, but also in hot ashes, or on hot stones. Heat is gradually transferred from the surface of cakes, cookies, and breads to their center.

Grilling is a form of cooking that involves dry heat applied to the surface of food, commonly from above or below. This method involves a significant amount of direct, radiant heat, and tends to be used for cooking meat quickly. It is as a healthy alternative to cooking with oils, although the fat and juices lost by grilling can contribute to drier food.

Induction cooking heats a cooking vessel by magnetic induction, instead of by thermal conduction from a flame, or an electrical heating element. Because inductive heating directly heats the vessel, very rapid increases in temperature can be achieved. Induction cooking is quite efficient, which means it puts less waste heat into the kitchen, can be quickly turned off, and has safety advantages compared to gas hobs (cook tops). Hobs are also usually easy to clean, because the hob itself does not get very hot.

The above was to give general idea but getting into details of baking

Baking Blind – Baking a pie shell without filling. This is usually done by placing beans wrapped in parchment paper over the tart shell. Bake as per the pie instructions

Beating – A method of vigorously agitating with a spoon, fork or whisk or beater to combine ingredients evenly to soften ingredients such as butter or to incorporate air into mixtures

Creaming- To beat together mixtures of fat and sugar to soften to a pale, fluffy consistency incorporating air into the mix to make a light cake.

Dredging– To sprinkle a mixture or surface generously with a dry ingredient such as flour or sugar either using a sifter. This is lot of time used in place of sprinkling.

Folding in– A method of combining a creamed mixture with dry ingredients or to incorporate whisked egg whites so that as little air as possible is knocked out. This is often called a cut and fold method.

Glazing- To brush a coating over a mixture either before or after baking to give a glossy appearance improve flavour. For e.g. beaten egg or milk is used to glaze pastries and breads.

Kneading– a process of pressing and stretching a dough with the hands or a dough hook. This makes the dough more elastic enabling the dough to rise easily and giving an even texture to the finished product.

Punching down- this is second kneading usually done after the dough has been left to rise and before shaping. The purpose is punching out any large air bubbles from the dough to guarantee an even textured result

Rising- To let a bread dough stand after shaping usually in a warm place. This is done to allow the dough to rise and give the finished bread a good rise and a light even texture

Rubbing in – To incorporate fat such as butter into dry ingredients such as flour using the finger tips to rub the two together evenly

Sifting– To mix dry ingredients such as flour through a sifter to eliminate lumps and create a smooth texture. It helps to evenly distribute any added rising agents or spices

Whipping– Gentle beating of a mixture usually with a mixer to make it smooth or in-corporate air in it. For e.g. it is used to thicken heavy cream or make it stiff enough for piping

Whisking– Rapidly beating a mixture using a hand whisk or electric whisk to incorporate and trap large amounts of air.

Piping– Forcing a soft cake or cookie mixture or a frosting from a pastry bag through a tip usually to create decorative shape or effect.

Oh! god I can go on and on this. Let me stop here and not make it too long, but will post the second half of the article soon. One lesson I learnt that if you are thorough with your hobby then only it becomes a passion. Now I can proudly say it is my passion. There is a lot to learn but one should never stop the hunger to learn and try new things.

One last thing a lot of people have asked me – while adding eggs to a creamed mixture always add them gradually at first and beat hard after each addition to prevent them from curdling. If cake batter does start to curdle, quickly beat in a tablespoon or two of flour which should correct it.

Posted on 2 Comments

No bake eggless dessert in 15 minutes

This is my kids favorite dessert as they get to make it and eat it too. They just love doing it and often it gets made for me to uplift my mood or they need to bribe me.

Ingredients

  • Digestive Biscuits of any kind- 100 to 200 gm( 2 packets typically)
  • Butter -100 gm
  • Chocolate- 1 cup
  • Amul cream – ½ cup
  • Fruit for decorations or anything you like. I used strawberry in my recipe

Method

  • Grind the biscuits in a mixer
  • Add melted butter in the biscuits. It should form soft balls. The quantity may vary depending on the biscuit type and size.
  • Put this biscuit mixture in a serving dish which is little shallow or use a tart mould.
  • This needs refrigeration for about 15 minutes for the butter to set with biscuits
  • Melt the chocolate with double boiler method and then add Amul cream to the mixture
    • Alternatively you can  pour boiled cream on chopped chocolate and mix
    • Or Microwave the chocolate for melting and then add Amul cream
  • You need to have a smooth mixture of cream and chocolate.  You can do this buy passing the chcoclate and cream mixture through a strainer or seive
  • Pour this on the biscuit base
  • You can put strawberry in the setting stage or Oreo cookies or any fruit of your choice
  • Let it cool for one hour or till chocolate sets
  • Dust icing sugar before serving
  • You can serve it in the dish itself if it is glass bowl or otherwise de-mould it from tart mould and serve.

As you can see in the picture we made strawberry Tart as these days we are getting them fresh. You can add anything or just serve it like that. It is your creativity and what flavours your family likes.

Strawberry Chocolate Tart

You add another layer of whipped cream over the chocolate layer once it is set.

Other Alternative who are not chocolate fans is to fill the tart case with thick custard and fruits.

Posted on 6 Comments

Tangy Baby Potato Starter

A lesson I learnt from my mother who was an army wife that you  should be prepared to make something quick and with basic ingredients to entertain sudden guests . Also lot of time army cantonments used to be cut off from the main city and you had to do what you had with you at home. The basic rule that one follows is not to run off potatoes and onions at home.

This is simple recipe of Baby potato starter. It is big hit in our house and I get loads of complements on the same. It is easy to pack in kids tiffin also.

Method

  • Soak about 20 baby potatoes with skin. This step helps to clean the dirt nicely
  • Wash them nicely so that there are no traces of dust
  • Boil them in pressure cooker with one whistle and slow flame for 5-7 min or boil in a pan with water for 15 min. Please note this step is crucial as you cannot over cook the potatoes or have the skin peeling off

  • Let them cool for 5- 10 min .
  • Pick each potato and press them between palms to make it a flat structure as shown in the pic below. Please note the skin should be intact

  • Shallow fry or sauté them with olive oil till crisp

  • Remove from fire and sprinkle lemon juice, salt, chilli powder, chat masala and amchur powder

They are ready to be served. Simple and easy.

Tangy Baby Potato Starter

Serving tip you can keep the potatoes boiled and pressed and sauté them hot when you want to serve. If you do not want to stand in-front of the gas during the party then grill them in the oven for 10-15 min.